

Proper culvert installation is critical to the longevity and performance of drainage infrastructure. Whether you’re working on a rural road upgrade, urban stormwater management, or agricultural drainage project, following correct installation procedures ensures your culverts perform reliably for decades.
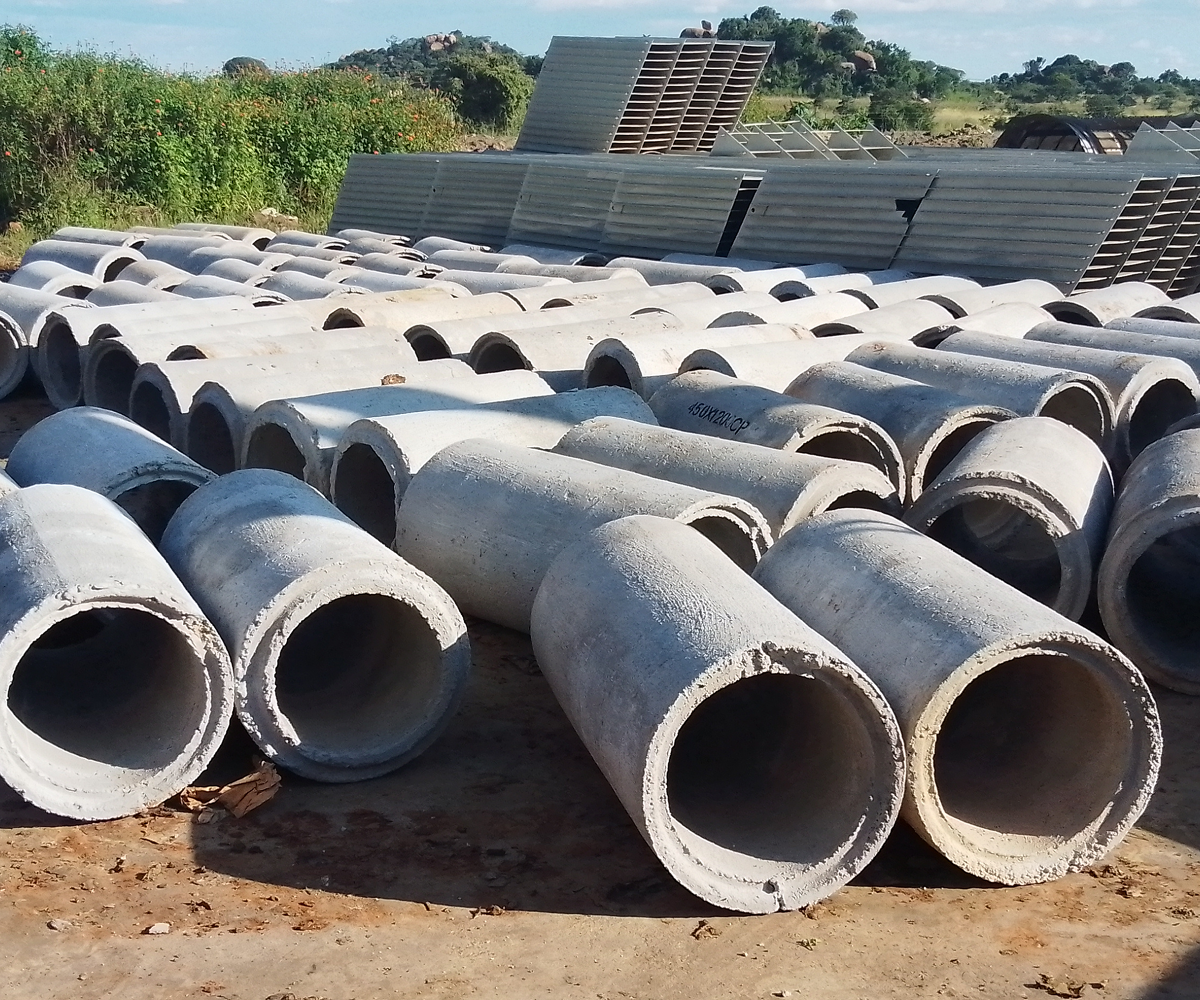
At Majorcon Precast, we manufacture high-strength reinforced concrete culvert pipes engineered for Zimbabwean conditions. This guide outlines essential installation practices based on international standards and local experience.
Before Installation: Critical Checks
Verify Materials
Before any pipe is placed, verify that delivered materials match specifications. Check:
- Pipe size, type, and class/wall thickness
- Approval stamps and certifications
- Any damage during transport (reject or delay defective sections)
Site Preparation
Review plans, control stakes, and adjacent terrain to confirm proper drainage alignment. Check for potential conflicts with existing or proposed underground utilities before excavation begins.
Excavation and Bedding
Trench Preparation
Excavate the pipe trench to the required width and depth. Remove unsuitable material encountered below the proposed pipe bedding and replace with approved material.
Bedding Requirements
Class C bedding is standard for most applications unless otherwise specified. Proper bedding ensures uniform support along the pipe length, preventing stress concentrations that can lead to cracking.
When Class A bedding is specified (concrete cradle), ensure materials meet specifications and proper curing procedures are followed.
Pipe Laying: Getting It Right
Joint Preparation
For bell and spigot pipes with rubber gaskets (ASTM C443 compliant):
- Attach rubber gasket around entire spigot circumference
- Set firmly against the offset step
- Apply manufacturer-recommended lubricant before installation
- Avoid bumping or fouling gasket after affixing
For tongue and groove joints with sealant:
- Apply preformed flexible bitumen or butyl sealant (ASTM C990 compliant)
- Position around entire circumference in position ensuring compression
- Follow manufacturer application recommendations
Direction Matters
Lay pipe in an upgrade direction—that is, with bell ends facing upstream and spigot ends fully entered into each bell. This orientation reduces resistance to flow and prevents joint separation from water pressure.
Alignment
Lay pipe with the lowest point of the inside diameter conforming precisely to the flow line shown in contract documents. Proper alignment ensures designed hydraulic performance.
Backfill: Critical for Performance
Initial Backfill
Place initial backfill lift no more than 8 inches (200mm) of loose material, and no higher than the spring line of the pipe. Ensure backfill material fills the space under the pipe haunches by “knifing” with a shovel or blade—this is often the most neglected but critical step.
Subsequent Lifts
Place subsequent lifts in maximum 8-inch layers, ensuring each lift meets specified moisture and compaction requirements before proceeding. Proper compaction prevents settlement that could alter pipe grade or cause joint separation.
Cover Requirements
Where heavy construction equipment will travel over the pipe, provide minimum 4 feet (1.2m) of cover. When placing multiple pipes side by side, maintain minimum 18 inches (450mm) between pipes.
Special Considerations
Embankment Installation
When placing pipe in an embankment not fully constructed, create a fill area for the pipe with minimum width of 2 pipe diameters on each side and 18 inches over the pipe top. If embankment finished elevation is less than 18 inches above pipe, build fill to finished elevation before trenching.
Flowable Fill
When specified, use flowable backfill material placed equally on both sides of pipe, ensuring fill on one side doesn’t exceed the other by more than 12 inches.
Post-Installation
Cleaning
Clean all new pipe culverts without damaging pipe, pipe joints, or connecting structures. Flush with high-pressure water, exposing all inside surfaces and joints. New pipes should be cleaned prior to inspection, allowing unobstructed view of all joints and accurate defect measurement.
Inspection
For pipes 48 inches diameter or less, video inspection is typically conducted no sooner than 30 days after placement. For larger pipes, manual inspection is standard.
Inspection checks for:
- Vertical or horizontal misalignment
- Cracks exceeding 0.01-inch width extending 12 inches or more
- Joint separation (limits vary by diameter)
- Gasket or sealant issues
- Settlement or deflection
Common Defects to Avoid
| Defect | Prevention |
|---|---|
| Joint separation | Proper joint assembly, adequate bedding |
| Cracking | Correct bedding, proper backfill compaction |
| Misalignment | Careful laying, regular grade checks |
| Settlement | Proper compaction, suitable backfill material |
| Gasket displacement | Careful handling after gasket attachment |
Quality Assurance Tips
- Inspect before placing – Reject defective pipe before installation, not after
- Check grade continuously – Regular checks prevent alignment issues
- Document everything – Maintain daily records of work, weather, trenching, placement, and backfill
- Test backfill – Verify compaction meets specifications
The Majorcon Advantage
At Majorcon Precast, our culvert pipes are manufactured to exacting standards, ensuring consistent quality that simplifies installation. Properly installed, our pipes provide decades of reliable service in roadworks, stormwater management, and infrastructure projects across Zimbabwe.
For technical support on your specific project, contact our engineering team.